Imagine biting into warm, crusty bread that you made yourself—with almost no effort. No-Knead Dutch Oven Bread lets you enjoy bakery-quality bread right from your kitchen.
You don’t need fancy skills or hours of kneading to get that perfect crust and soft inside. If you’ve ever wanted to bake bread but felt it was too hard or time-consuming, this simple method is made for you. Keep reading, and you’ll discover how easy and rewarding homemade bread can be.
Why Choose No-knead Bread
No-knead Dutch oven bread is easy to make at home. It needs very little effort but gives great results.
This bread has a crispy crust and soft inside. You do not need special skills or tools to bake it.
Benefits Of No-knead Method
The no-knead method uses time instead of hard work to develop dough. You mix ingredients and let dough rest.
This slow process makes the bread tasty with a nice texture. It needs less hands-on time than regular bread.
Time-saving Advantages
You spend just a few minutes mixing the dough. Then, the dough rests for many hours without needing attention.
The baking time is about the same as normal bread. You save time by not kneading and shaping the dough.
- Mix ingredients quickly
- Let dough rest overnight
- Bake with little prep
Perfect For Beginners
No-knead bread is simple and forgiving. You do not need to learn kneading or shaping skills first.
It helps new bakers feel confident. The slow rise gives time to fix small mistakes before baking.
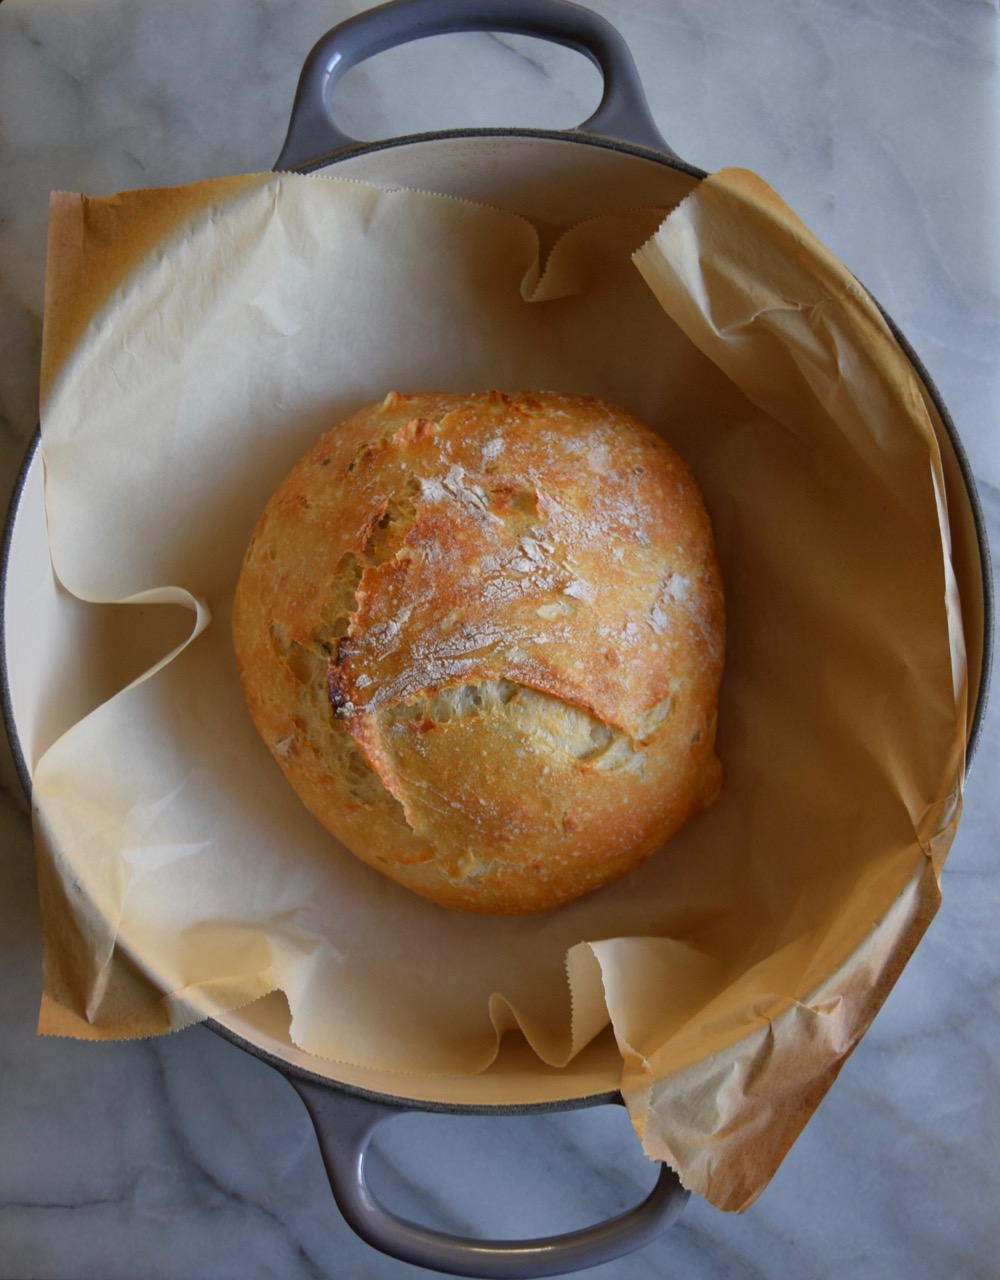
Credit: glorifiedhobby.com
Essential Ingredients
No-knead Dutch oven bread needs few simple ingredients. Each one plays a big role in the bread’s taste and texture.
Using the right flour, yeast, salt, and water makes your bread rise well and have a nice crust.
Flour Selection
Flour gives bread its structure. For no-knead bread, use bread flour or all-purpose flour.
Bread flour has more protein. This helps form gluten, which makes bread chewy and strong. All-purpose flour works too but the bread may be softer.
- Bread flour: higher protein, chewier texture
- All-purpose flour: lower protein, softer bread
- Whole wheat flour: adds flavor and nutrition but can make bread dense
Yeast Types
Yeast helps the dough rise by creating gas bubbles. Use active dry yeast or instant yeast for no-knead bread.
Active dry yeast needs to be dissolved in water first. Instant yeast can be mixed directly with flour.
- Active dry yeast: needs warm water to activate
- Instant yeast: mixes directly, rises faster
- Use about 1/4 teaspoon yeast for a long rise
Salt And Water Quality
Salt controls yeast activity and adds flavor. Use fine sea salt or kosher salt for best results.
Water quality affects dough hydration. Use clean, room temperature water without chlorine for better fermentation.
- Salt: balances yeast and improves taste
- Water: use filtered or bottled if tap water is chlorinated
- Water temperature: around 70°F (21°C) helps yeast work well
Choosing The Right Dutch Oven
Making no-knead bread in a Dutch oven is easy and fun. Picking the right Dutch oven helps you bake better bread.
Different Dutch ovens vary in material, size, and shape. These features affect your baking results.
Material Matters
Dutch ovens come in cast iron, enameled cast iron, and other materials. Each type changes heat and baking.
Cast iron holds heat well and creates a crispy crust. Enameled cast iron is easier to clean and does not need seasoning.
- Cast iron: Great heat retention but needs seasoning
- Enameled cast iron: No seasoning needed, easy cleaning
- Other metals: Heat up fast but cool down quickly
Size And Shape Tips
Choose a Dutch oven size that fits your bread dough. Too big or too small pots change baking time and shape.
Round Dutch ovens create classic round loaves. Oval shapes work well for longer bread like baguettes.
- 5 to 7 quarts is best for most no-knead bread recipes
- Round pots shape round, rustic loaves
- Oval pots fit longer or oval-shaped bread
Prepping Your Dutch Oven
Clean your Dutch oven before baking. For cast iron, make sure it is well-seasoned to stop sticking.
Preheat the Dutch oven inside your oven. This helps bake the bread evenly and create a crisp crust.
- Wash and dry your Dutch oven thoroughly
- Apply a thin layer of oil if using cast iron
- Preheat the Dutch oven at baking temperature for 30 minutes
- Use oven mitts to handle the hot pot safely
Step-by-step Recipe
This no-knead Dutch oven bread is simple and tasty. You will make it with little effort.
Follow each step carefully for the best results. The bread will have a crunchy crust and soft inside.
Mixing The Dough
Start by mixing flour, salt, yeast, and water in a large bowl. Use a spoon to combine them well.
The dough will look sticky and rough. That is normal and shows it is ready for the next step.
- Use 3 cups of all-purpose flour
- Add 1 teaspoon salt
- Add 1/4 teaspoon yeast
- Pour 1 1/2 cups warm water
- Mix until combined, no dry flour left
First Rise And Resting
Cover the bowl with plastic wrap or a towel. Let the dough rest at room temperature.
Leave it to rise for 12 to 18 hours. You will see bubbles and the dough will double in size.
- Keep the dough in a warm place
- Do not disturb the dough during rising
- Check after 12 hours for bubbles
- Ready when doubled and bubbly
Shaping And Second Rise
Lightly flour a surface and your hands. Turn the dough out carefully onto the surface.
Shape the dough into a ball without kneading. Let it rest again for 1 to 2 hours before baking.
- Flour surface and hands to prevent sticking
- Gently fold edges under to form a ball
- Place dough on floured cloth or parchment
- Cover and rest for 1-2 hours
Baking Process
Heat your oven to 450°F (230°C) with a Dutch oven inside. This makes the bread crusty.
Carefully place the dough into the hot Dutch oven. Cover and bake for 30 minutes.
Remove the lid and bake for 15 more minutes to brown the crust. Let the bread cool before slicing.
- Preheat oven and Dutch oven to 450°F
- Place dough inside hot Dutch oven
- Cover and bake 30 minutes
- Remove lid, bake 15 minutes more
- Cool on rack for at least 1 hour
Achieving Crispy Crust
Making no-knead Dutch oven bread with a crispy crust is simple. The crust forms from the right heat and moisture.
Using steam, heat control, and cooling helps get a crunchy outer layer. Each step is key to the perfect crust.
Steam And Heat Techniques
Steam is important to keep the bread surface moist at first. It stops the crust from drying too soon and allows it to expand.
Heat helps form the crust by cooking the outer dough quickly. High temperature makes the crust dark and crunchy.
- Preheat the Dutch oven to a high temperature, around 450°F (230°C).
- Place dough inside a hot Dutch oven to trap steam from the dough itself.
- Keep the lid on during the first 20-30 minutes to hold steam.
Dutch Oven Lid Usage
Using the Dutch oven lid traps steam, creating a moist environment inside. This moisture delays crust hardening early on.
Removing the lid later lets the crust dry and brown. This step makes the crust crispy and thick.
- Keep the lid on for the first 20-30 minutes of baking.
- Take the lid off for the last 10-15 minutes to brown the crust.
- The lid helps mimic a professional bread oven at home.
Cooling For Crunchiness
Cooling the bread on a rack is important to keep the crust crunchy. Warm bread holds moisture inside, but the crust needs air.
Let the bread cool completely before slicing. Cutting too soon can make the crust soft and chewy.
- Remove bread from the Dutch oven after baking.
- Place it on a wire rack to cool fully.
- Wait at least one hour before cutting the bread.

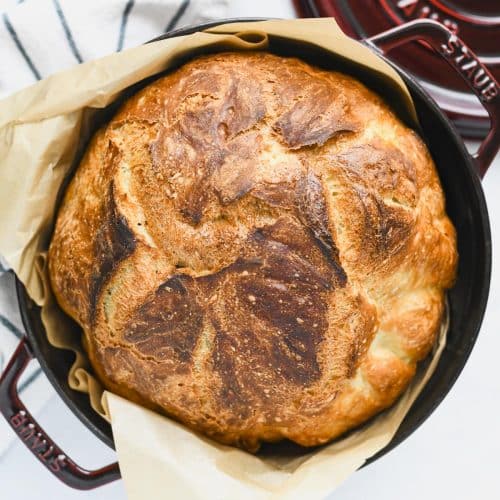
Credit: www.talesfromthekitchenshed.com
Common Mistakes To Avoid
Making no-knead Dutch oven bread is simple but can be tricky. Small mistakes can change the bread’s texture and taste.
Knowing what to avoid helps you bake better bread every time. Here are common mistakes to watch for.
Over Or Under Proofing
Proofing means letting the dough rise before baking. Too much or too little proofing affects the bread’s shape and crumb.
If you over-proof, the dough can collapse and lose structure. Under-proofed dough will be dense and heavy inside.
- Check dough after the first rise to avoid over-proofing.
- Look for dough that is puffy but not too soft.
- Use the finger test: gently press the dough; it should bounce back slowly.
Incorrect Oven Temperatures
Oven temperature is key for a crispy crust and soft inside. Too hot can burn the crust; too low leaves bread pale and dense.
Preheat your oven and Dutch oven properly. Use an oven thermometer to check the real temperature.
- Preheat oven to 450°F (230°C) for best results.
- Heat the Dutch oven for at least 30 minutes before baking.
- Lower temperature after baking the crust if needed to avoid burning.
Handling Dough Properly
Handling dough gently keeps the air bubbles inside. These bubbles make the bread light and airy.
Rough handling can push air out and flatten the dough. Use a gentle touch when shaping and transferring dough.
- Use a spatula or dough scraper to move the dough carefully.
- Do not knead the dough after the first rise.
- Keep your hands lightly floured to avoid sticking but avoid adding too much flour.
Flavor Variations
No-knead Dutch oven bread is simple to make and tastes great. You can change its flavor by adding different ingredients.
Try herbs, seeds, nuts, or different flours to create new bread flavors. These changes make your bread unique.
Adding Herbs And Spices
Herbs and spices add fresh and bold tastes to your bread. You can mix them into the dough before baking.
Use dried or fresh herbs depending on what you like. Spices like garlic powder or black pepper also work well.
- Rosemary adds a woodsy, pine-like flavor
- Thyme gives a subtle, earthy taste
- Basil adds a sweet, peppery note
- Garlic powder brings a warm and savory touch
- Black pepper adds mild heat and aroma
Incorporating Seeds And Nuts
Seeds and nuts give your bread a crunchy texture and nutty taste. Add them to the dough or sprinkle on top.
They also add nutrition and make the bread more filling. Mix seeds and nuts evenly for the best results.
- Sunflower seeds add a mild nutty flavor
- Pumpkin seeds give a slightly sweet crunch
- Sesame seeds offer a toasted, rich taste
- Walnuts add a bold, earthy flavor
- Almonds bring a sweet and crunchy bite
Using Different Flours
Different flours change the bread’s taste and texture. You can try whole wheat, rye, or spelt flour instead of white flour.
Mix flours to balance flavor and softness. Each flour gives a unique color and smell to your bread.
- Whole wheat flour adds a nutty, rich taste
- Rye flour gives a deep, slightly sour flavor
- Spelt flour offers a mild, sweet flavor
- Oat flour makes bread soft and slightly sweet
- Barley flour adds a mild, nutty taste
Storage And Reheating Tips
Fresh bread tastes best, but it can lose flavor and texture if not stored well. Proper storage helps keep your No-Knead Dutch Oven Bread tasty for days.
Reheating bread brings back its soft inside and crunchy crust. Use the right ways to warm your bread without drying it out.
Keeping Bread Fresh
Store your bread at room temperature in a paper bag or a bread box. This keeps the crust crisp and the inside soft.
Avoid plastic bags because they trap moisture and make the crust soggy. Keep bread away from direct sunlight and heat.
- Use paper bags or cloth bread bags
- Keep bread in a cool, dry place
- Avoid storing bread in the fridge
Freezing For Later
Freezing is a good way to keep bread fresh for weeks. Slice the bread before freezing to thaw only what you need.
Wrap the bread tightly in plastic wrap or foil, then place it in a freezer bag. This stops freezer burn and preserves taste.
- Slice bread before freezing
- Wrap tightly in plastic or foil
- Place wrapped bread in a freezer bag
- Use within 3 months for best quality
Best Reheating Methods
Reheat bread in the oven to restore its crunchy crust and soft inside. Avoid microwaving as it makes bread chewy.
Preheat the oven to 350°F (175°C). Wrap bread in foil to keep it moist. Heat for 10-15 minutes depending on size.
- Preheat oven to 350°F (175°C)
- Wrap bread in foil to keep moisture
- Heat for 10-15 minutes
- For crusty bread, unwrap for last 5 minutes
Credit: www.theseasonedmom.com
Frequently Asked Questions
What Is No-knead Dutch Oven Bread?
No-knead Dutch oven bread is a simple bread recipe. It requires minimal ingredients and no kneading. The dough rises over time, developing flavor naturally. Baking in a Dutch oven creates a crispy crust and soft interior. It’s perfect for beginners and bread enthusiasts alike.
How Long Does It Take To Make?
Making no-knead Dutch oven bread takes around 24 hours. The process includes a long fermentation period. This allows the dough to rise slowly and develop flavor. Active preparation time is minimal, making it convenient for busy schedules. The result is well worth the wait.
Can I Use Different Types Of Flour?
Yes, you can use different types of flour. Experimenting with whole wheat, rye, or spelt flour adds flavor and texture. Adjust the water content if needed to achieve the right dough consistency. Mixing different flours can yield unique and delicious results.
Why Use A Dutch Oven For Baking?
A Dutch oven traps steam, creating a perfect baking environment. This results in a crispy crust and soft interior. Its heavy lid and thick walls distribute heat evenly. This mimics professional steam-injected ovens, enhancing the bread’s texture and flavor. It’s essential for no-knead bread success.
Conclusion
No-knead Dutch oven bread makes baking easy and fun. You need only a few ingredients and little effort. The bread turns out crusty on the outside and soft inside. It fills your home with a warm, fresh smell. Anyone can bake it, even beginners.
Try it today and enjoy homemade bread anytime. Simple, tasty, and rewarding. Why not give it a go? You will love the results.