
Imagine the smell of freshly baked bread wafting through your home. Now, picture achieving that with just three simple ingredients and without needing a fancy Dutch oven.
Yes, it’s possible! You, too, can become a bread-making pro with minimal effort. This straightforward recipe is not only easy but also incredibly rewarding. With no kneading involved, you can enjoy the process without the mess. Curious about how to make this miracle bread?
Keep reading, and you’ll discover how to create a crusty, delicious loaf with a few pantry staples. Get ready to impress your taste buds and transform your kitchen into a bakery.
Ingredients Needed
Creating a delicious loaf of bread doesn’t need to be complicated or time-consuming. With just three simple ingredients, you can make a no-knead bread without a Dutch oven. The key to success lies in the right selection of flour, yeast, and salt. Each plays a crucial role in the baking process, affecting both flavor and texture. Let’s dive into the details to ensure your bread is a hit every time.
Flour Selection
The type of flour you choose can significantly influence the texture and taste of your bread. Most recipes call for all-purpose flour due to its balanced protein content, making it versatile and easy to work with. However, if you’re after a denser, more rustic loaf, whole wheat flour could be a great choice. Keep in mind that whole wheat will result in a heartier texture and a deeper flavor. Experimenting with different flours might lead you to discover a combination that perfectly suits your taste.
Yeast Type
Yeast acts as the leavening agent, and choosing the right type is essential for a good rise. Instant yeast is a popular choice for no-knead bread because it doesn’t require prior activation with water. If you have active dry yeast on hand, it works too, but you’ll need to dissolve it in warm water first. Have you ever wondered what would happen if you used too much yeast? Your bread might rise too quickly, leading to a less flavorful loaf. Balance is key in every step of baking.
Salt Options
Salt does more than just enhance flavor; it also controls yeast activity and strengthens gluten structure. Regular table salt works well, but sea salt or kosher salt can add a subtle difference in taste and texture. Always measure your salt carefully. Too little can lead to a bland loaf, while too much might inhibit the rising process. Which salt will you choose to elevate your bread’s flavor profile?
As you gather these ingredients, remember that each one plays a vital role in the final product. The beauty of this recipe lies in its simplicity—three ingredients, endless possibilities. Are you ready to create your next masterpiece in the kitchen?
Simple Preparation Steps
Create delicious bread with just three ingredients. Mix, let it rise, and bake. No kneading needed. Enjoy homemade simplicity without a Dutch oven.
Have you ever dreamed of baking fresh bread at home without the fuss of kneading or needing a Dutch oven? This 3 ingredient no knead bread recipe is your answer. You’ll discover how simple it is to create a loaf of bread that’s both delicious and hassle-free. The process is straightforward, allowing even beginners to achieve impressive results. Let’s dive into the simple preparation steps for this delightful bread!Mixing The Dough
First, gather your three ingredients: flour, yeast, and salt. Grab a large mixing bowl. Add 3 cups of all-purpose flour, 1/2 teaspoon of instant yeast, and 1 teaspoon of salt. Mix them together using a wooden spoon or your hands. Slowly pour in 1 1/2 cups of water, stirring until a sticky dough forms. It’s normal for the dough to be a bit shaggy; resist the urge to overmix. Feel free to experiment with different flours or add-ins like herbs or seeds. What’s your favorite flavor addition?Resting Time
Once your dough is mixed, cover the bowl with a clean kitchen towel or plastic wrap. Let it rest at room temperature for 8 to 24 hours. This is when the magic happens. During this resting period, the yeast works its magic, creating bubbles and causing the dough to rise. The longer the dough rests, the better the flavor develops. Consider setting the dough overnight. Wouldn’t it be wonderful to wake up to freshly risen dough, ready for baking?Shaping The Bread
After the resting time, it’s time to shape your bread. Lightly flour your work surface and your hands. Gently turn the dough out of the bowl onto the floured surface. Fold the dough over itself a few times to form a rough ball. Be gentle; you don’t want to deflate those beautiful bubbles. No need to knead—just shape! Place the dough on a parchment-lined baking sheet. Let it rest for about 30 minutes while you preheat the oven to 450°F. Imagine the smell of baking bread wafting through your kitchen, isn’t it worth the anticipation? These simple preparation steps make bread baking accessible to everyone. With a little patience and minimal effort, you’re on your way to enjoying homemade bread. What’s stopping you from trying it today?Baking Methods
Baking methods for bread vary widely. Many recipes suggest using a Dutch oven, but alternatives exist. This section explores different methods to bake bread without a Dutch oven.
Alternative To Dutch Oven
A baking sheet works well for no-knead bread. It provides even heat distribution. Place parchment paper on the sheet. This prevents sticking. A loaf pan is another option. It shapes the bread nicely. Both methods yield great results.
Temperature Settings
Setting the right temperature is vital. For no-knead bread, preheat the oven to 450°F. High heat creates a crispy crust. It also helps the bread rise. Keep the temperature steady throughout baking. This ensures even cooking.
Monitoring Cooking Time
Keep an eye on cooking time. Usually, bake for 30-40 minutes. Check the bread at 30 minutes. Look for a golden crust. Tap the bottom; it should sound hollow. This indicates doneness. Use a timer to avoid overcooking.

Credit: pastryandbeyond.com
Tips For Perfect Texture
Discover the secret to perfect texture with 3-ingredient no knead bread. Achieve a crispy crust and soft inside without using a Dutch oven. Simple ingredients, easy steps, and delightful results make this bread a must-try for baking enthusiasts.
Making a 3 Ingredient No Knead Bread without a Dutch oven is both a rewarding and exciting process. It’s like embarking on a culinary adventure right in your kitchen. But how do you ensure your bread has that perfect texture? This involves balancing a crisp crust with a moist crumb. Below are some practical tips to help you achieve this balance and elevate your bread-making skills.Achieving Crisp Crust
A crisp crust is the hallmark of a well-baked bread. To achieve this, consider baking your bread on a preheated baking stone or sheet. This method helps to distribute heat evenly and creates a lovely crust. An unexpected tip is to use a spray bottle. Spritz a bit of water inside the oven just before baking. This generates steam, which contributes to a crispy crust. Do you like experimenting with flavors? Try sprinkling a bit of coarse salt or seeds on top before baking. This can add an extra layer of texture and taste to the crust.Maintaining Moist Crumb
A moist crumb is essential for making your bread enjoyable and not dry. One key trick is to ensure your dough is not too dry from the start. The hydration level of your dough can impact the final texture significantly. Consider wrapping your bread in a damp kitchen towel after baking. This helps retain moisture and keeps the bread soft. Have you ever tried adding a bit of butter or olive oil to your dough? It can improve the moisture content and flavor, giving your bread that delicious, melt-in-your-mouth quality. What are your thoughts on these tips? Give them a try and transform your homemade bread into a masterpiece. With just a few adjustments, you can make a bread that’s not only simple but also satisfying.Serving Suggestions
Try fresh-baked bread with butter and jam for a classic breakfast. Pair slices with soup for a hearty lunch. Serve with olive oil and balsamic vinegar for a simple appetizer.
Imagine the aroma of freshly baked bread wafting through your kitchen, its crust perfectly golden and inviting. With just three ingredients and no need for a Dutch oven, you can create a rustic masterpiece that complements any meal. But what’s next once you’ve baked this simple yet delightful bread? Let’s dive into some serving suggestions that will elevate your bread experience to new heights.Pairing With Meals
Your homemade bread can be the perfect sidekick to a hearty bowl of soup or stew. Imagine dipping a slice into a steaming bowl of tomato soup—comfort food at its finest. Pair it with creamy pasta dishes. The bread’s crusty exterior and soft interior contrast beautifully with rich sauces. Try it with fettuccine Alfredo for a classic combination. Transform your bread into a sandwich masterpiece. Layer it with fresh vegetables, cheeses, and meats for a satisfying lunch. It’s amazing how a simple bread can elevate everyday meals.Storage Advice
Once your bread is baked, storing it correctly is essential to maintain its freshness. Wrap it in a clean kitchen towel and keep it on the counter for up to two days. If you want to keep it longer, place it in a sealed plastic bag or airtight container. This helps retain moisture and keeps your bread from drying out. Consider freezing for extended storage. Slice the bread beforehand, and wrap individual pieces in plastic wrap. That way, you can easily thaw just what you need. — Serving suggestions are more than just ideas; they’re an invitation to experiment and enjoy. How will you choose to enjoy your freshly baked bread today?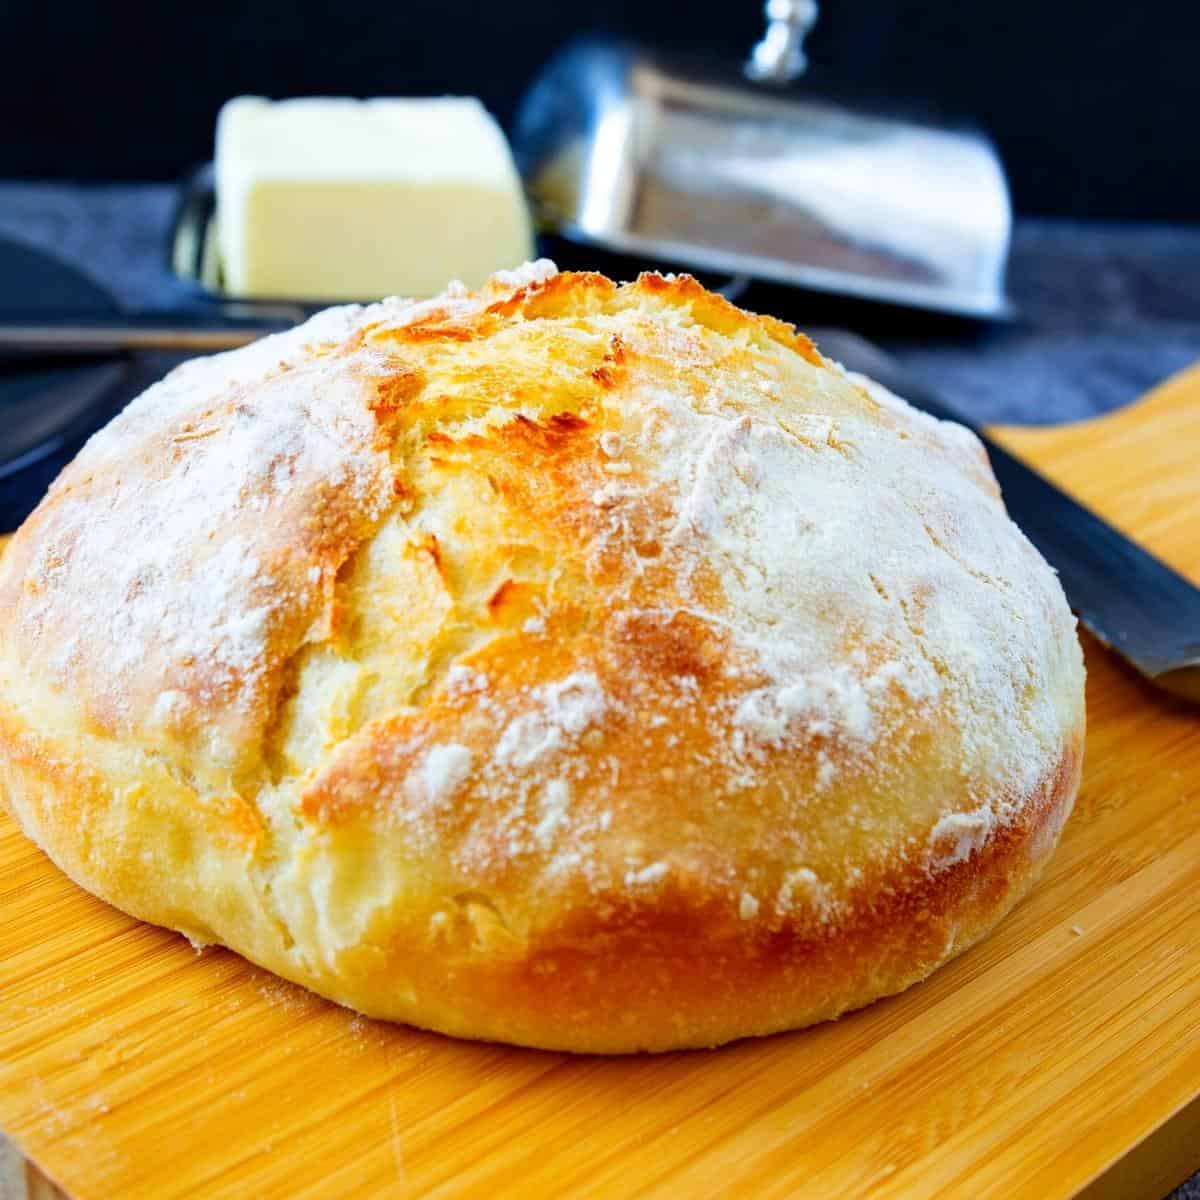
Credit: veenaazmanov.com

Credit: www.thegrumpyolive.com
Frequently Asked Questions
What Can I Use Instead Of A Dutch Oven For No-knead Bread?
Use a heavy pot with a lid, like a cast-iron skillet or casserole dish, for no-knead bread. A Pyrex dish or metal baking pan covered with foil can also work well. Ensure the alternative is oven-safe and can withstand high temperatures.
What Is A Poor Man’s Dutch Oven?
A poor man’s Dutch oven uses a heavy pot with a lid to mimic a traditional Dutch oven. It efficiently traps heat and moisture, making it ideal for slow cooking and baking. Cast iron or stainless steel pots are popular choices, offering durability and versatility for various recipes.
Can I Bake Bread In A 9×13 Pan?
Yes, you can bake bread in a 9×13 pan. This size allows for even baking and a soft crust. Adjust the baking time to ensure the bread cooks thoroughly. It’s perfect for focaccia or sandwich loaves. Experiment with your favorite bread recipes for delicious results.
Why Do You Put Vinegar In No-knead Bread?
Vinegar enhances the flavor and improves the texture of no-knead bread. It strengthens the gluten structure, resulting in a better crumb. Vinegar also extends the bread’s shelf life by acting as a natural preservative.
Conclusion
Baking bread with just three ingredients is simple and satisfying. You don’t need a Dutch oven to make this delicious loaf. Mix, let it rise, and bake. That’s all it takes. The result is a crusty, soft bread that everyone loves.
Perfect for sandwiches or with butter. Try it today and enjoy homemade bread without hassle. Share the joy of easy baking with friends and family. They will surely appreciate the effort and taste. Enjoy the simplicity and flavor of homemade bread!