Imagine biting into a warm, crusty loaf of bread that you made yourself—without spending hours kneading dough or waiting all day for it to rise. With the 2 Hour No Knead Bread Dutch Oven method, you can enjoy fresh, homemade bread faster and easier than you ever thought possible.
If you’ve been hesitant to bake bread because of complicated recipes or long wait times, this simple approach will change everything. Ready to impress yourself and your loved ones with bakery-quality bread right from your own kitchen? Keep reading to discover how you can make this delicious bread with minimal effort and maximum flavor.
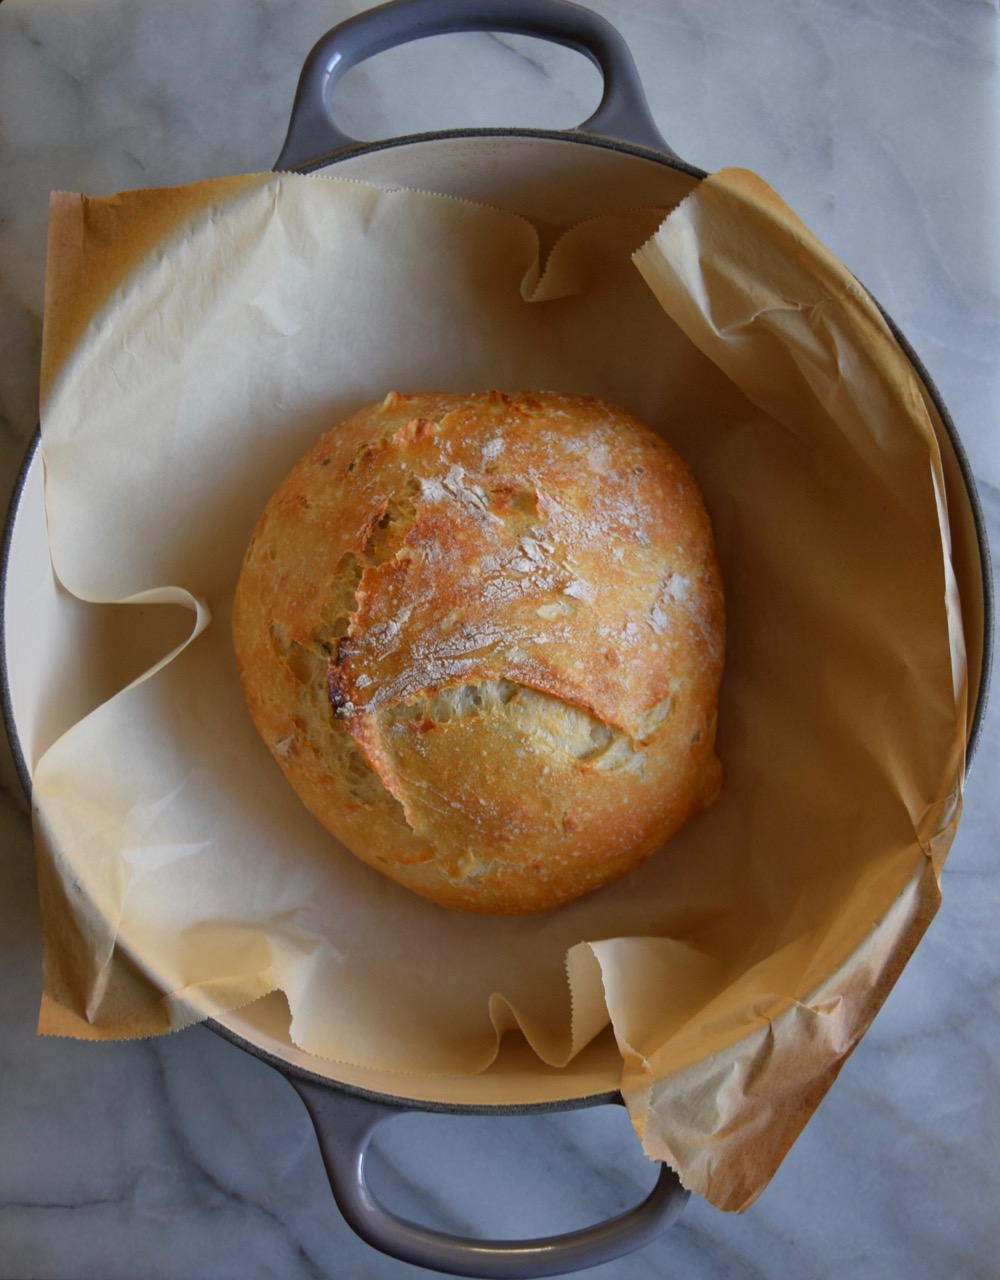
Credit: glorifiedhobby.com
Why Choose No Knead Bread
No knead bread is easy to make at home. It uses simple ingredients and little effort.
This bread is baked in a Dutch oven for a crispy crust and soft inside. It takes less active time than traditional bread.
Benefits Of No Knead Method
The no knead method needs no special skills. You mix ingredients and let the dough rest for hours.
This process helps develop flavor and texture without heavy work. It also needs fewer tools.
- Simple ingredients and steps
- Less physical effort
- Great flavor from slow fermentation
- Crispy crust and soft crumb
- Perfect for beginners
Time-saving Advantages
No knead bread saves time by reducing hands-on work. The dough rests for long hours without needing attention.
You can prepare the dough in the evening and bake it the next day. This fits well with busy schedules.
- Less active mixing and kneading
- Flexible timing with long dough rest
- Can prepare dough ahead
- Quick baking in Dutch oven
Essentials For Dutch Oven Baking
Baking bread in a Dutch oven gives a crispy crust and soft inside. This method works well with a no-knead recipe that takes about 2 hours.
To get good results, you need the right tools and proper preparation. These basics help you bake bread that looks and tastes great.
Selecting The Right Dutch Oven
Choose a Dutch oven that holds heat well and fits your bread size. Cast iron is the best choice because it keeps heat steady.
Look for a lid that fits tightly. This traps steam inside and helps the bread rise with a crispy crust.
- Size: 4 to 6 quarts works for most bread
- Material: cast iron or enameled cast iron
- Shape: round or oval to fit your dough
- Lid: tight-fitting to keep steam inside
- Handles: easy to grip with oven mitts
Preparing Your Equipment
Before baking, preheat your Dutch oven with the lid on. This step makes sure the pot is hot enough to bake the bread evenly.
Use parchment paper to lift the dough into the pot. This prevents sticking and helps remove the bread after baking.
- Place the Dutch oven in the oven while preheating
- Preheat at 450°F (230°C) for 30 minutes
- Use oven mitts to handle the hot pot
- Line the dough with parchment paper before placing it inside
- Keep the lid on during the first part of baking
Ingredients For The Perfect Loaf
Baking a 2 hour no knead bread in a Dutch oven needs simple ingredients. Each ingredient plays a key role in making the bread tasty and soft.
Knowing the right types and amounts helps you get a perfect loaf every time.
Flour Types And Choices
Flour is the base of your bread. Different flours affect texture and flavor. All-purpose flour works well for soft bread.
Bread flour has more protein, giving bread a chewy texture. Whole wheat flour adds a nutty taste but can make bread dense.
- All-purpose flour: soft, light crumb
- Bread flour: chewy, strong gluten
- Whole wheat flour: hearty, nutty flavor
Yeast And Leavening Tips
Yeast makes the bread rise and creates air pockets. Use active dry or instant yeast for quick results. Use the right amount for good rise in 2 hours.
Make sure yeast is fresh. Warm water helps activate yeast faster, but water should not be too hot or it will kill the yeast.
- Active dry yeast: needs to be dissolved in water first
- Instant yeast: mixes directly with flour
- Water temperature: 100°F to 110°F (38°C to 43°C)
Salt And Water Ratios
Salt controls yeast activity and adds flavor. Use about 2% of the flour weight in salt. Too much salt can slow yeast down.
Water hydrates flour and helps gluten form. The right water ratio makes dough sticky but manageable for no knead bread.
- Salt: 1 to 1.5 teaspoons per 3 cups of flour
- Water: about 1 1/4 cups for 3 cups of flour
- Adjust water for humidity and flour type

Credit: www.reddit.com
Step-by-step Quick No Knead Recipe
This recipe shows how to make bread fast without kneading. It uses a Dutch oven to bake the bread.
The dough is simple to mix and needs only two short rises. This method saves time and effort.
Mixing The Dough
Start by combining flour, water, yeast, and salt in a large bowl. Mix with a spoon until the dough forms.
The dough will be sticky and rough. Do not add more flour or knead it.
- 3 cups all-purpose flour
- 1 ½ cups warm water
- 2 teaspoons instant yeast
- 1 ½ teaspoons salt
First Rise And Rest
Cover the bowl with plastic wrap or a towel. Let the dough rest for about 1 hour at room temperature.
The dough will grow and look bubbly. This means the yeast is working well.
Shaping And Second Rise
Lightly flour your hands and a work surface. Shape the dough into a round ball gently.
Place the dough on a floured towel. Cover it and let it rise for 30 minutes more.
Baking In The Dutch Oven
Preheat the oven to 450°F (230°C) with the Dutch oven inside. This takes about 30 minutes.
Carefully place the dough into the hot Dutch oven. Cover with the lid and bake for 30 minutes.
Remove the lid and bake for another 10-15 minutes. The bread should be golden brown and crusty.
Achieving A Crispy Crust
A crispy crust is the key to great 2 hour no knead bread in a Dutch oven. The crust forms from proper heat and moisture control during baking. This guide explains how to get that perfect crunch.
Using a Dutch oven helps trap heat and steam, which is important for crust texture. Managing these factors creates the crust you want every time.
Heat Management
The Dutch oven must be very hot before baking. This high heat helps the bread rise fast and forms a crispy crust. Preheat the oven and Dutch oven for at least 30 minutes.
Keep the temperature steady during baking. Avoid opening the lid too early. The consistent heat bakes the bread evenly and crisps the outside.
- Preheat Dutch oven at 450°F (230°C) for 30 minutes
- Place dough in hot Dutch oven carefully
- Bake with lid on first 20 minutes
- Remove lid last 10-15 minutes to crisp crust
Steam And Moisture Control
Steam inside the Dutch oven keeps the dough surface moist at first. This allows the bread to expand and stop crust from hardening too soon. It also helps form a shiny, crispy crust.
After 20 minutes, remove the lid to let steam escape. This dries the crust, making it crunchy and golden brown. Controlling moisture is key to crispness.
- Keep lid on during early baking for steam
- Remove lid later to dry crust
- Avoid opening oven door early to keep steam
- Use a tight-fitting Dutch oven lid to trap moisture
Troubleshooting Common Issues
Baking 2 Hour No Knead Bread in a Dutch oven is simple but can have problems. Some breads turn out dense, flat, or have crust issues.
Here are common problems and ways to fix them. These tips help you bake better bread each time.
Dense Or Gummy Bread
Dense or gummy bread happens when the dough is underbaked or the yeast did not work well. Too much flour or not enough rising time can cause this.
Check if the dough rises until it doubles in size. Bake the bread long enough and at the right temperature.
- Use fresh yeast for good rise
- Let dough rise until doubled
- Do not add extra flour during mixing
- Bake fully, check with a toothpick
Flat Or Misshapen Loaf
A flat or misshapen loaf means the dough spread too much. This can happen if the dough is too wet or not shaped properly.
Shape the dough tightly before the final rise. Use less water if the dough feels very sticky.
- Measure water carefully for correct dough texture
- Shape dough with gentle but firm hands
- Use a well-floured surface to shape
- Let dough rest after shaping for better hold
Crust Too Hard Or Soft
The crust may be too hard if the oven is too hot or baking time is too long. A soft crust can happen if the bread cools in a moist place.
Use the right oven temperature and cool bread on a rack. Avoid covering the bread while it cools.
- Bake at recommended temperature (usually 450°F/230°C)
- Remove bread from Dutch oven for last 10 minutes to crisp
- Cool bread on a wire rack to let air circulate
- Do not cover bread with cloth while cooling
Variations To Customize Your Bread
The 2 Hour No Knead Bread Dutch Oven recipe is easy to change. You can add many ingredients to make it unique.
Try adding seeds, nuts, herbs, spices, or sweet and savory items. These changes make your bread tasty and special.
Adding Seeds And Nuts
Seeds and nuts add crunch and flavor to your bread. You can mix them into the dough or sprinkle on top before baking.
Try sunflower seeds, pumpkin seeds, sesame seeds, or chopped walnuts. They give your bread a nice texture and taste.
- Sunflower seeds
- Pumpkin seeds
- Sesame seeds
- Chopped walnuts
- Chopped almonds
Incorporating Herbs And Spices
Add herbs and spices to give your bread a fresh and savory flavor. Mix them into the dough before baking.
Common herbs like rosemary, thyme, and basil work well. Spices such as garlic powder and black pepper add warmth and taste.
- Fresh or dried rosemary
- Thyme leaves
- Basil
- Garlic powder
- Black pepper
Sweet And Savory Twists
You can make your bread sweet or savory by adding different ingredients. Mix in fruits, cheese, or olives for a new taste.
Try dried cranberries or raisins for sweetness. Add shredded cheese or chopped olives for a savory touch.
- Dried cranberries
- Raisins
- Shredded cheese
- Chopped olives
- Sundried tomatoes
Storing And Serving Tips
After baking your 2 Hour No Knead Bread in a Dutch Oven, it is important to store it properly. Good storage keeps the bread fresh and tasty for longer.
Serving the bread at the right temperature also improves the taste. Follow these tips to enjoy your bread at its best.
Best Storage Practices
Let the bread cool completely before storing. Warm bread traps moisture and makes the crust soft.
Store your bread in a paper bag or a bread box. This keeps the crust crisp and the inside soft.
- Avoid plastic bags; they cause the crust to become soggy.
- Keep bread at room temperature, away from heat and sunlight.
- For longer storage, freeze the bread wrapped tightly in foil or plastic wrap.
Reheating For Freshness
Reheat your bread to restore its fresh-baked flavor and texture. Use your oven or toaster oven for best results.
Preheat the oven to 350°F (175°C). Wrap the bread in foil and warm it for 10–15 minutes. This keeps the crust from burning.
- For a crisp crust, unwrap the bread in the last 5 minutes.
- Do not microwave; it makes the bread chewy and tough.
- If frozen, thaw at room temperature before reheating.

Credit: www.talesfromthekitchenshed.com
Frequently Asked Questions
What Is 2 Hour No Knead Bread In A Dutch Oven?
2 hour no knead bread is a quick, simple bread recipe. It requires minimal effort and uses a Dutch oven for baking. The Dutch oven creates a perfect crust and soft interior in just two hours.
How Does The Dutch Oven Improve No Knead Bread?
The Dutch oven traps steam during baking, which helps form a crispy crust. It also distributes heat evenly for consistent baking. This method enhances the bread’s texture and flavor without extra effort.
Can I Use Any Dutch Oven For No Knead Bread?
Yes, you can use most Dutch ovens with a tight-fitting lid. Cast iron or enameled Dutch ovens work best for heat retention. Just ensure it fits in your oven and is oven-safe.
Why Choose 2 Hour No Knead Bread Over Traditional Recipes?
This recipe saves time by skipping long rising and kneading. It’s perfect for beginners or busy cooks who want fresh bread fast. The flavor and texture rival traditional slow-rise breads.
Conclusion
Creating delicious bread at home is now simple and quick. This no knead Dutch oven recipe takes just two hours. Perfect for busy days. The result? A crusty, warm loaf that’s hard to resist. No complicated steps or fancy tools needed.
Just basic ingredients and a little patience. Your kitchen will smell heavenly. Friends and family will love it. Baking bread can be fun and satisfying. Enjoy fresh, homemade bread anytime. Give this recipe a try and taste the difference. Happy baking!